Camera Simulator
Aperture Priority
Motion freeze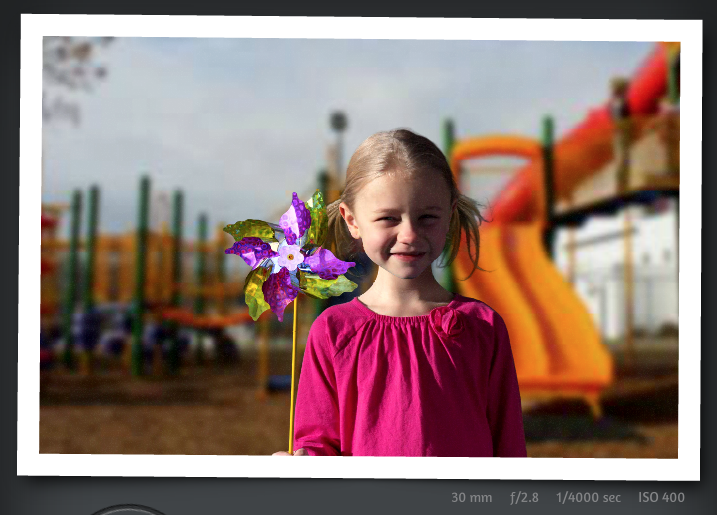
Shooting on aperture priority mode, my aperture is set to f/2.8 which means that my focal length is shallow, but the diaphragm hole is large letting in a lot of light. My shutter speed was automatically set to 1/4000 of a second which is very fast and the shutter is not open for very long, letting in less light. That is why the pinwheel is almost frozen in motion, because the shutter speed captured the image quickly. The background is blurred because the aperture could only focus a shallow depth of field.
|
Motion Blur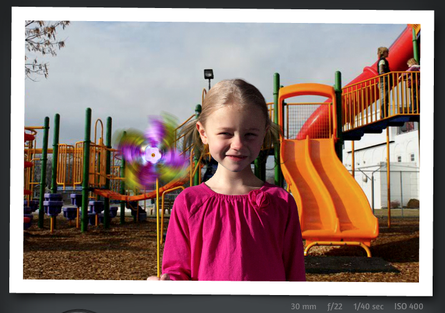
This image has an aperture of f/22. That means that it has a long focal length and a small aperture opening. I shot this on aperture priority mode so the camera adjusted the shutter speed to 1/40 of a second of time for exposure. This created a motion blur of the pinwheel because the shutter was open long enough for the pinwheel to spin. The larger the focal range (smaller the aperture hole) means that the background is in focus.
|
Shutter Priority
Motion Freeze
Shooting in shutter priority mode, I was able to use a fast shutter speed to freeze the pinwheels motion. My shutter speed was at 1/500 of a second which means it was open for a short amount of time. The camera automatically set the aperture to f/2.8 to allow enough light to come in so the photograph had good exposure. The aperture at f/2.8 creates a shallow depth of field and therefore the background is blurred.
|
Motion Blur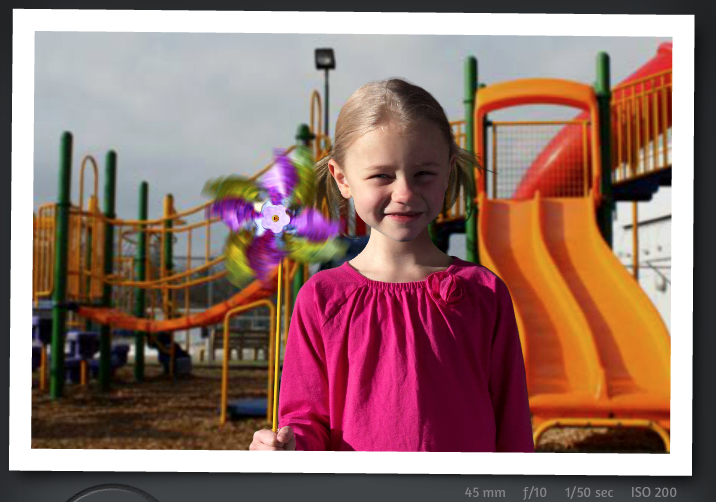
Shooting in shutter priority mode I used a slow shutter speed of 1/50 of a second to achieve a motion blur of the pinwheel. The shutter speed was slow so that the pinwheel would turn while the shutter was open. In order to get the correct exposure, the aperture had to be smaller to allow light to come in. The aperture at f/10 allows the background to be in focus.
|
ISO/FILM SPEED
This image was taken using an ISO of 100 which means it is not very sensitive to light. It requires a maximum amounts of light to make a good exposure. Slow film is less grainy but has less visual information.
|

This image was taken using an ISO of 25600 which is an exceptionally high film speed making it especially sensitive to light. It can be used in very low light situations to capture an image. The problem is it'll become grainy and are therefor very noisy.
|
Circles and Ovals

This photograph captures a unique lightbulb catching the light from the ceiling. I chose this object because not only did it hold a circular shape itself, it had little bulbs on the inside which added to the photo itself. The picture is mostly bottom weighted do to the light at the top and the darker bottom. In post production, the image was cropped, the highlights were brightened and the image was sharpened to show all the little details. The thing that really fixed this image though was the white balance. This picture was very saturated before causing it to have a yellow tint.
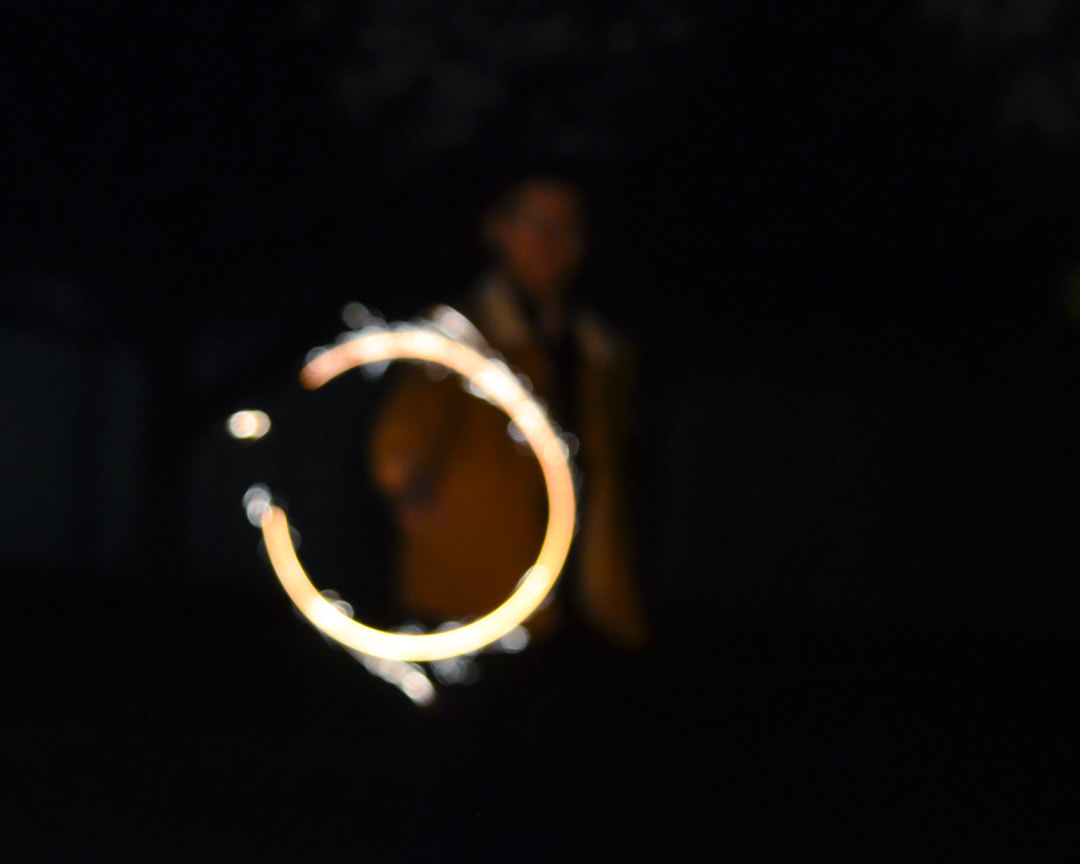
This photo is one of my favourites, I had my friend make circular motions with a sparkler and slowed my shutter speed down in order to capture the circle. In post production I cropped it, fixed the white balance and used noise reduction to get ride of the noise created by the low lighting.
|
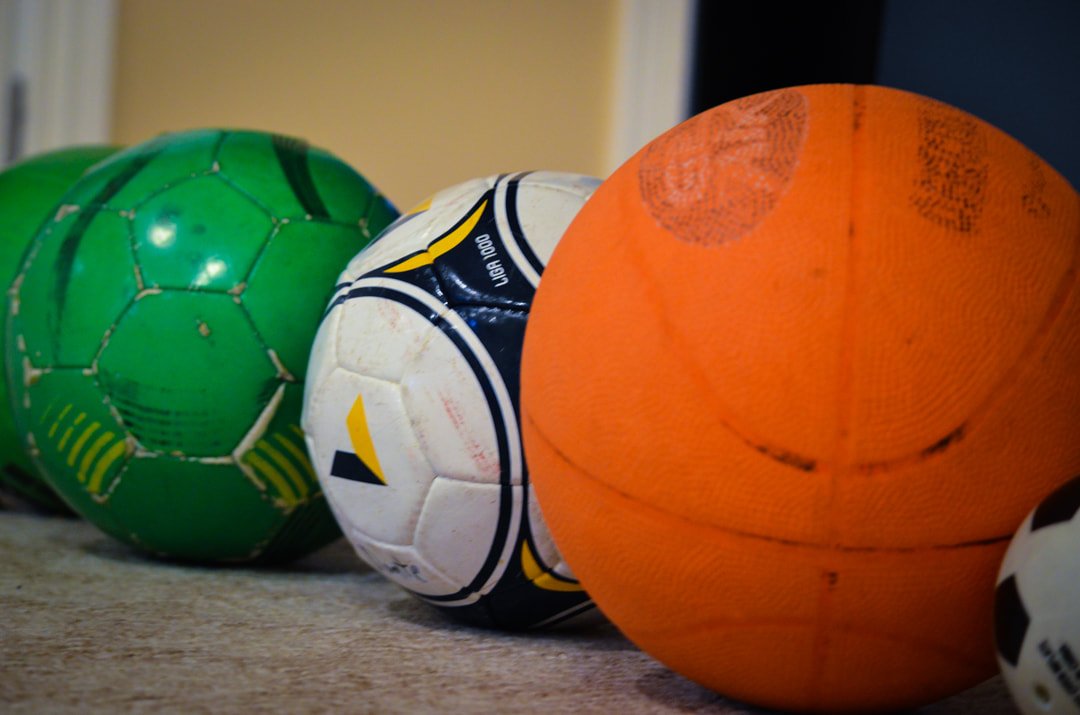
This photo contains a few different soccer balls and a basket ball lined up. The bright orange of the basket ball captures the viewers attention, then the green soccer ball leads the eye down the line, and then back to the basket ball. In post production I fixed the white balance, sharpened and brightened the picture, as well as darkened the shadows and added a vignette. In order to fix the angle of which the original picture was shot, I cropped the image quite small.
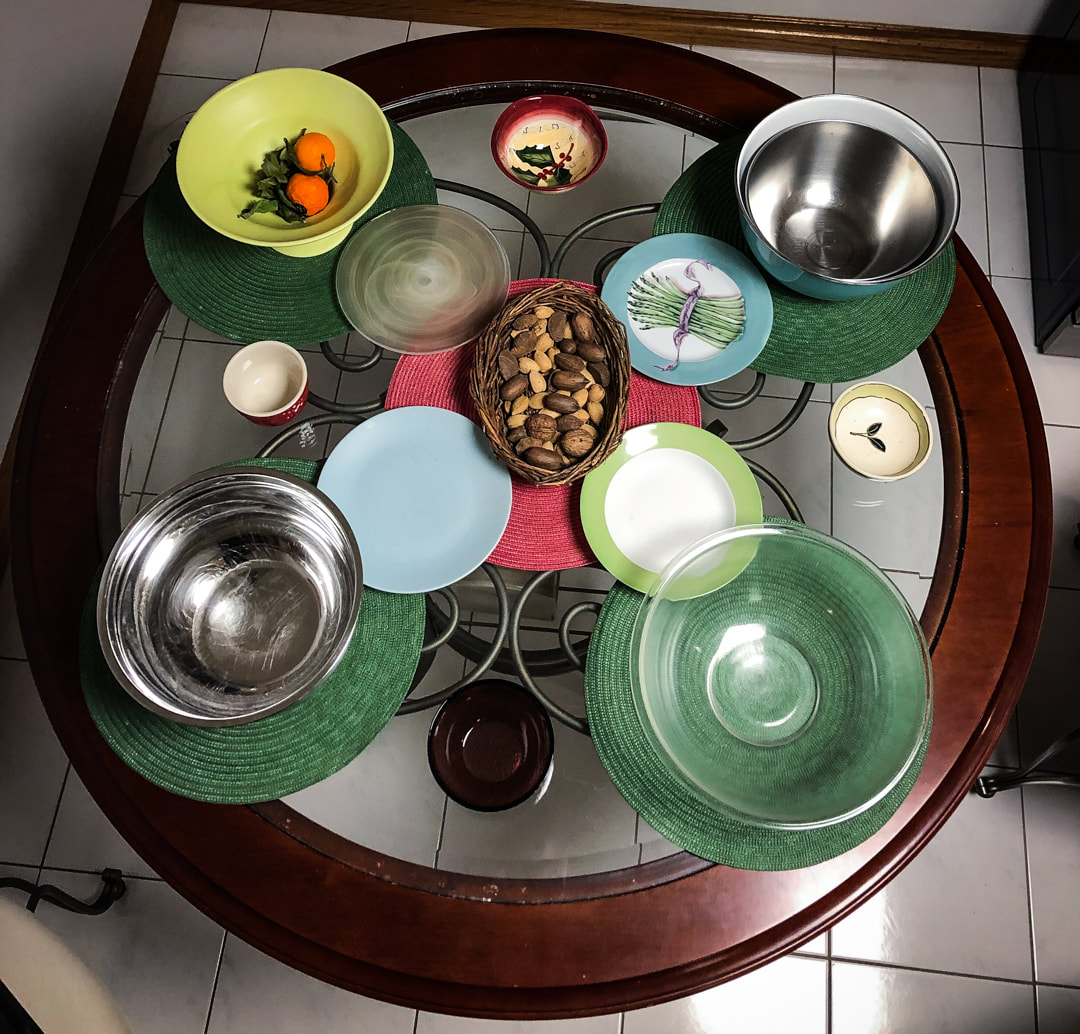
This picture is of a circular dining table that I positioned bowls and table matts on top of to create a pattern. The eye is drawn to the centre immediately because of the red and then moved around the table to the different patterns and colours. In post production I had to crop and reposition this photo quite a bit because of the surrounding objects. I re-coloured some of the objects to make them more vibrant and I added a vignette to reduce the appearance of surrounding objects.
|
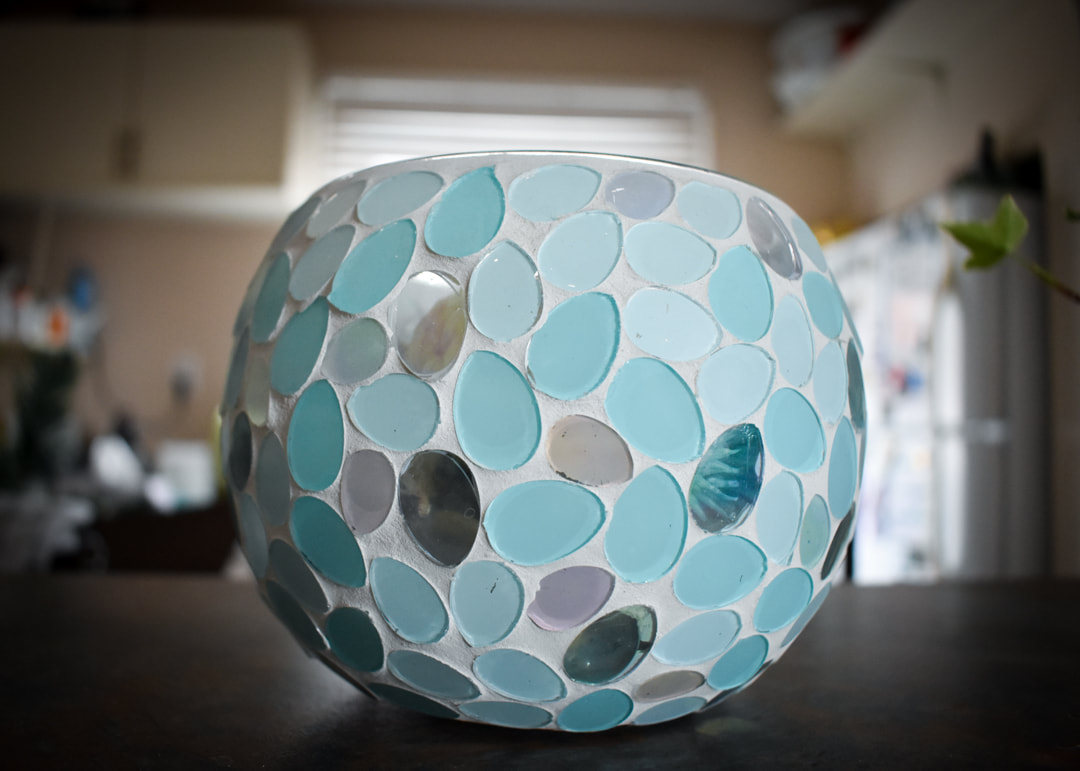
Patterns
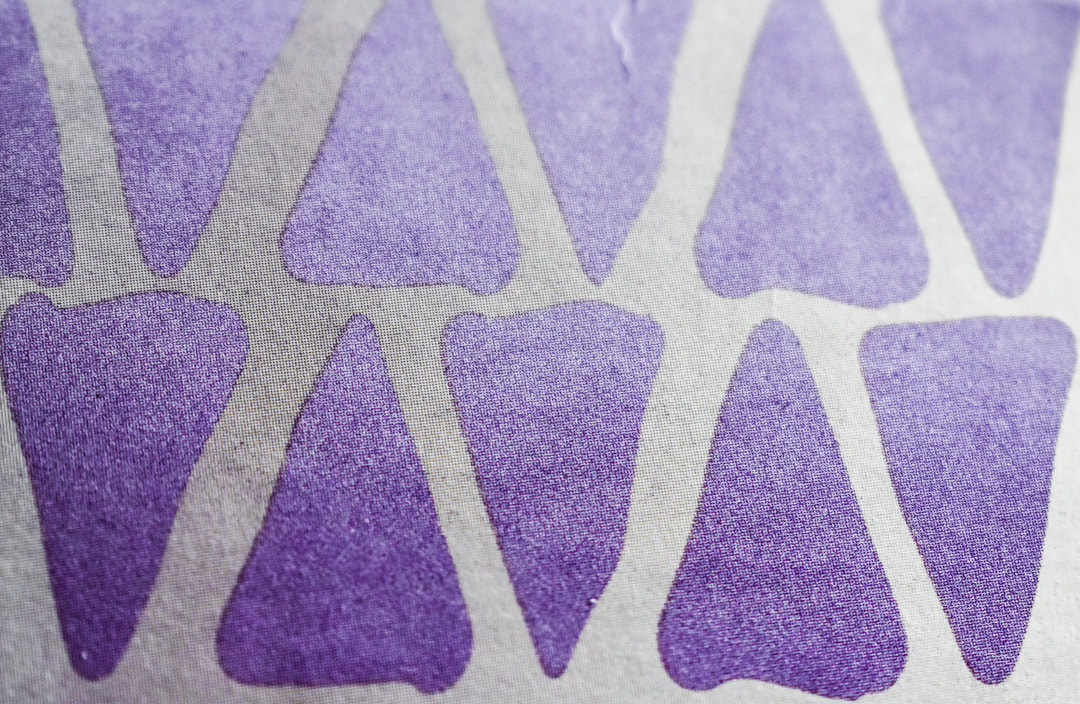
For this photograph, I had to fix the white balance, as the original was kind of yellow due to the low lighting. I cropped it, enhanced the purple triangles, and sharpened it so you can see the texture better.
|
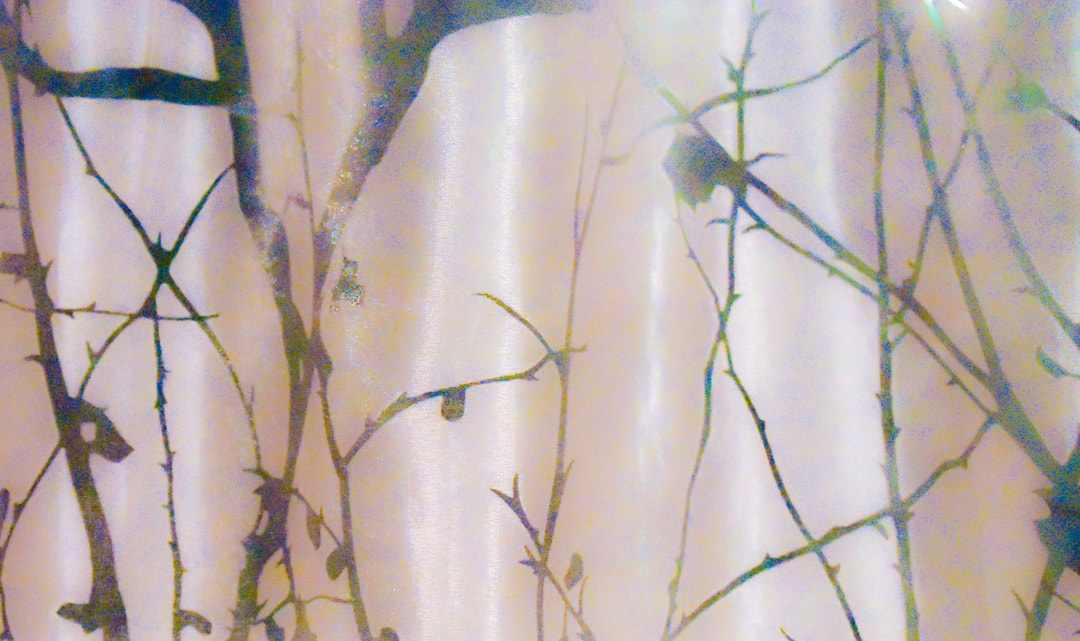
For this image the only thing I really changed was the white balance, the clarity (I sharpened it), and the vignette I added.
|
For this photograph, I gave it a more vintage feel with my editing than I usually would. I thought the final result was really nice and more interesting than the original clear picture. I started with the basics such as white balance and cropping, then I brought down the clarity and the blacks, bringing up the vibrance and the whites. It ended up giving me this lovely effect.
Glasses and Bottles
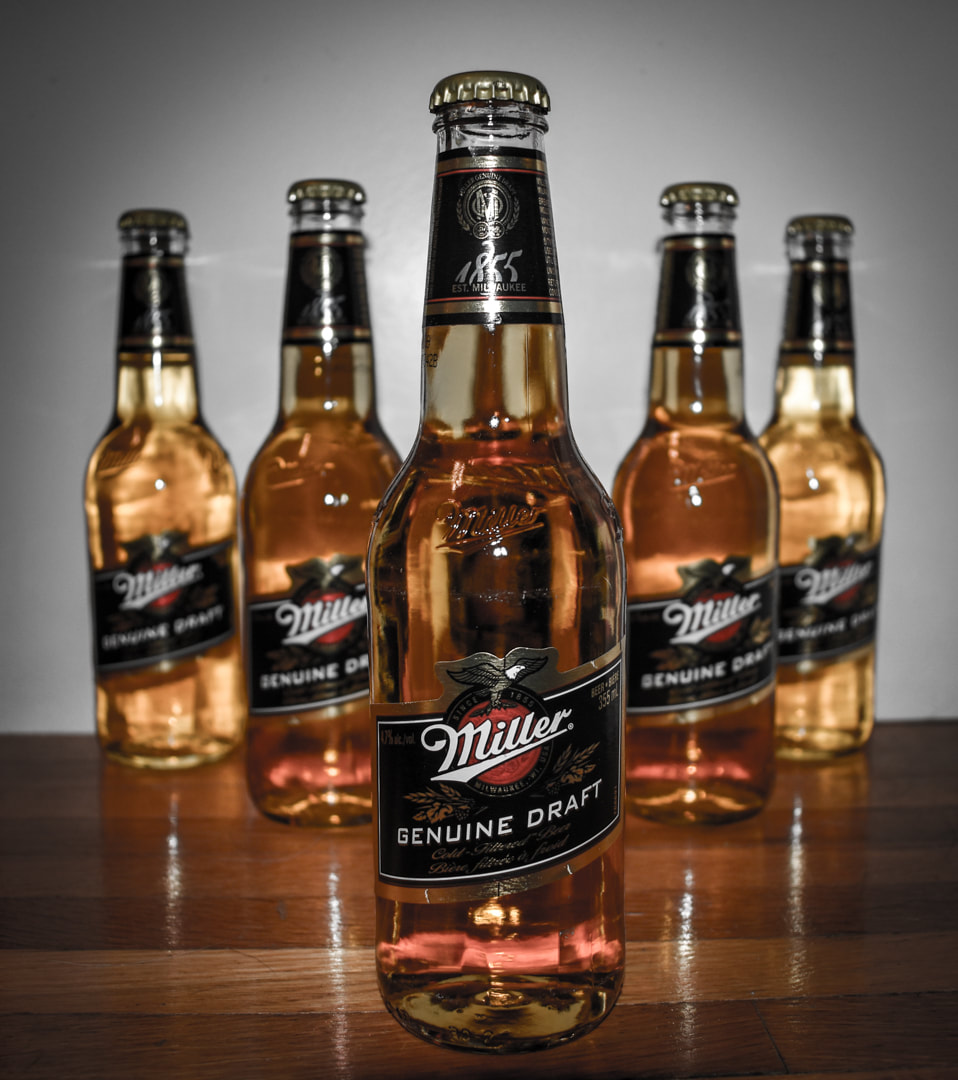
Using Lightroom, I fixed the white balance, brought up the exposure and contrast, brought down the highlights and up the shadows, increased the whites and decreased the blacks. Then I made the image super clear and crisp. The original image had colouring I wasn't very fond of, so I changed certain colours to make it the way I wanted, starting with bringing down the vibrance and the saturation. I also had the crop the image to get rid of most of the background. After I was satisfied with the overall image, I added a vignette to draw the eye towards the centre more. I am very satisfied with the final image.
|
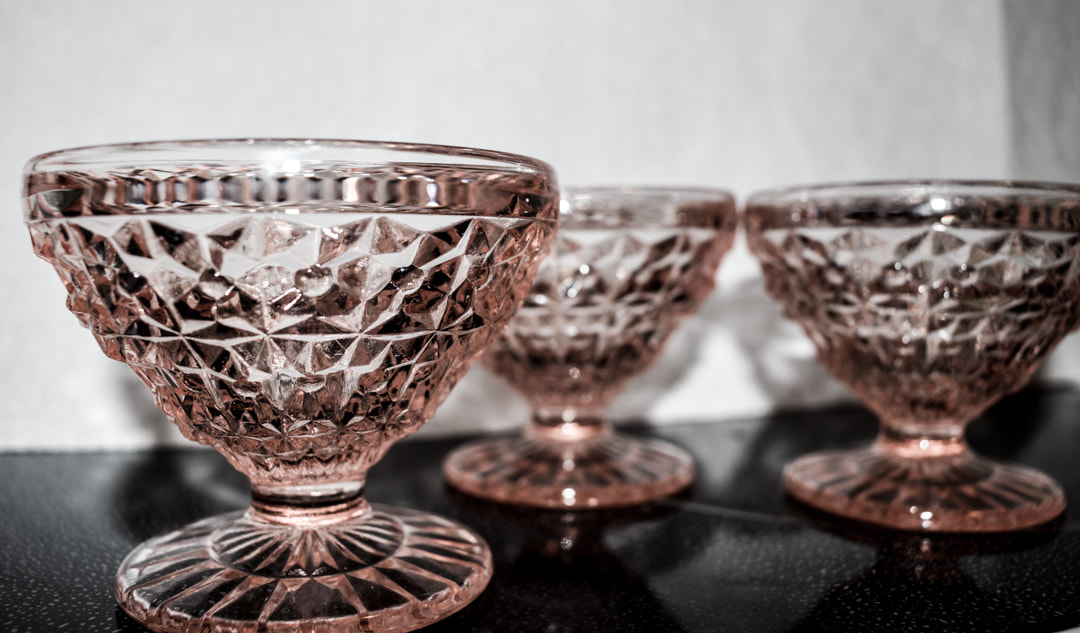
This photo of pink depression glasses is one of my favourites. For this, I did the basic edits such as cropping and white balance but also brought up the clarity, highlights, and vibrance. I brought down the shadows, blacks and the saturation. I feel like this photo has a crisp and unique looks to it and I really like it.
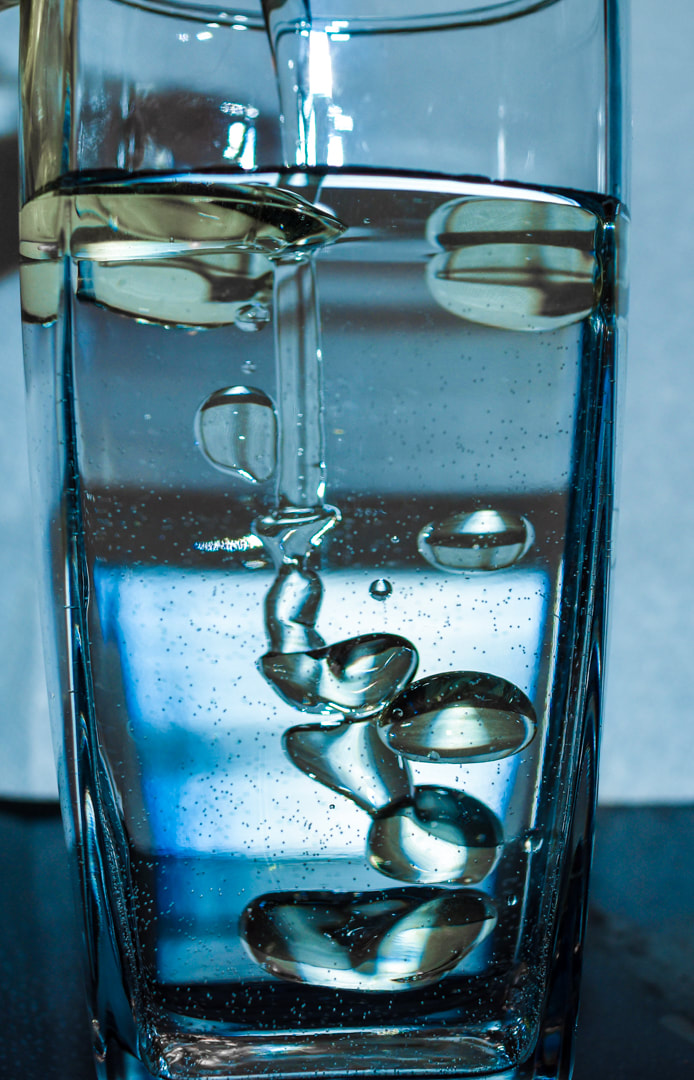
This photo was really hard to shoot but I managed to capture the bubbles of oil nicely before they rose to the top. I made this image more blue and took out some of the yellow in the bubbles to make it more pleasing to look at.
|
Shoes
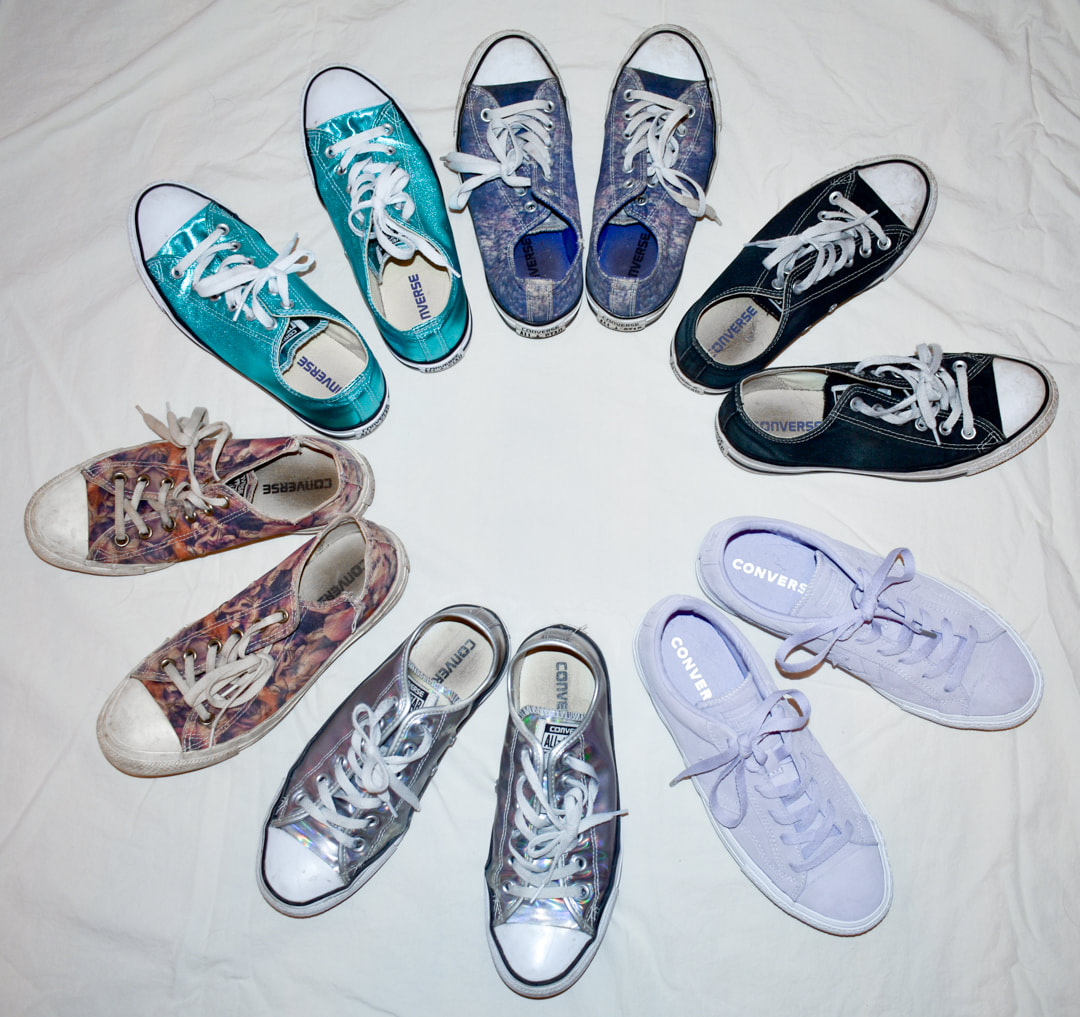
This picture took a lot of work, for starters, the picture was very yellow and so I had to get the perfect white balance, I went through and got rid of dirt and marks on the shoes, then I cropped it, and angled it.
|
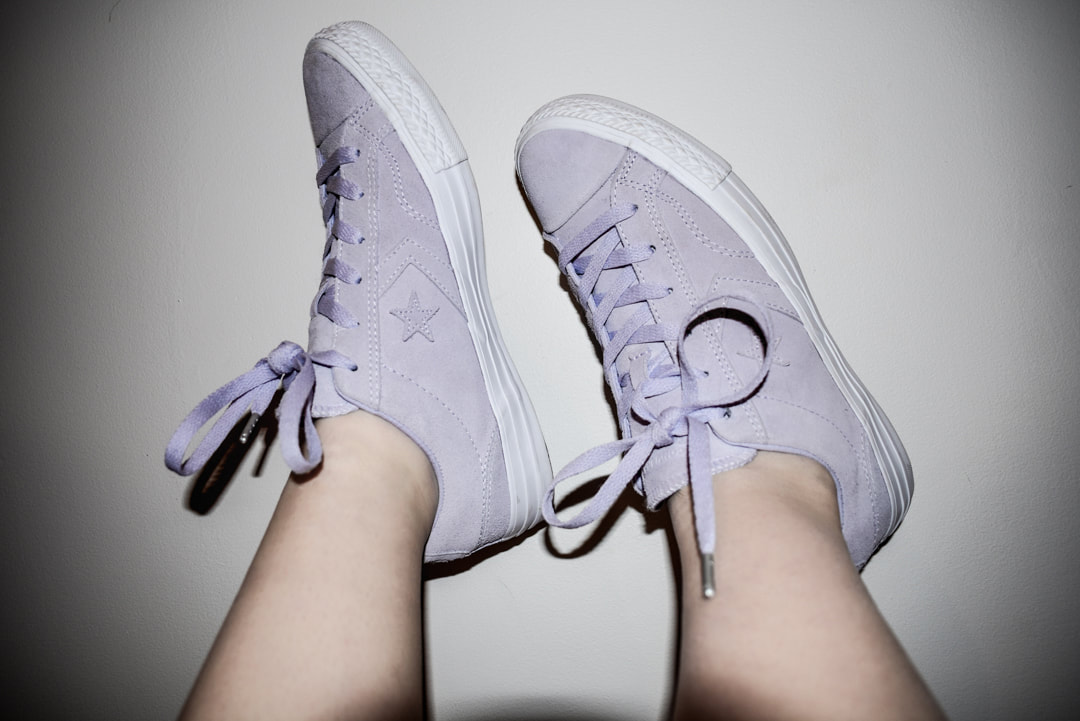
For this image, I had to crop, white balance, and I added a vignette. After that I took it to photo shop and using the patch healing tool I smoothed out the legs and got rid of some red spots.
|
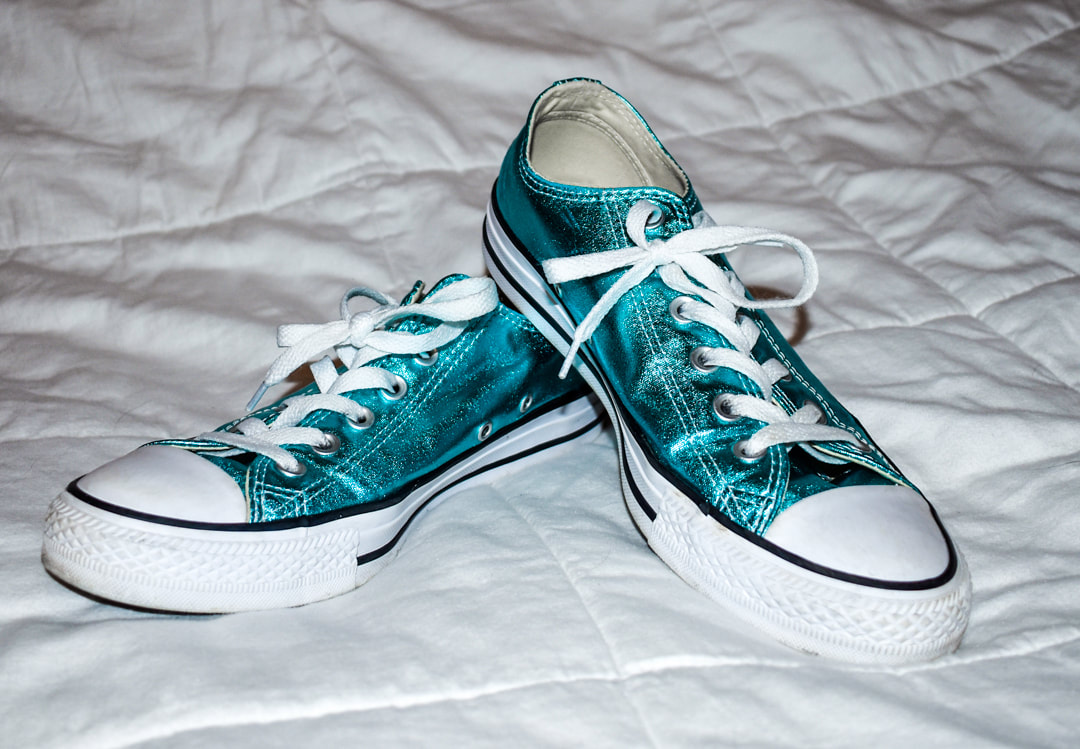
For this image I had to use photoshop and lightroom. I used lightroom to do the basic edits like white balance, cropping, etc. then I used photshop to edit out the blemishes on the shoes to make them look newer.
